Notice: This Wiki is now read only and edits are no longer possible. Please see: https://gitlab.eclipse.org/eclipsefdn/helpdesk/-/wikis/Wiki-shutdown-plan for the plan.
Submitting a CMDBf to a Data Manager Tutorial
COSMOS Wiki > COSMOS Document Plan > COSMOS Manual Guide > COSMOS UG Web Console
This tutorial will go over the steps to construct a CMDBf query using the CMDBf query builder dialog. It should be noted that hte CMDBf query builder is only present for MDRs that provide service meta data information. The CMDBf query builder uses the service mata data information to determine what kind of query capabilities are available to the user. We will work with the "Sample Repository with Query" MDR in this tutorial since it provides service meta data information.
The "Sample Repository with Query" MDR manages a repository containing information on a set of students and teachers. The repository contains information such as the student's name, teacher's name and which students are taught by a particular teacher. Users can construct a CMDBf query to acquire the student or teacher information.
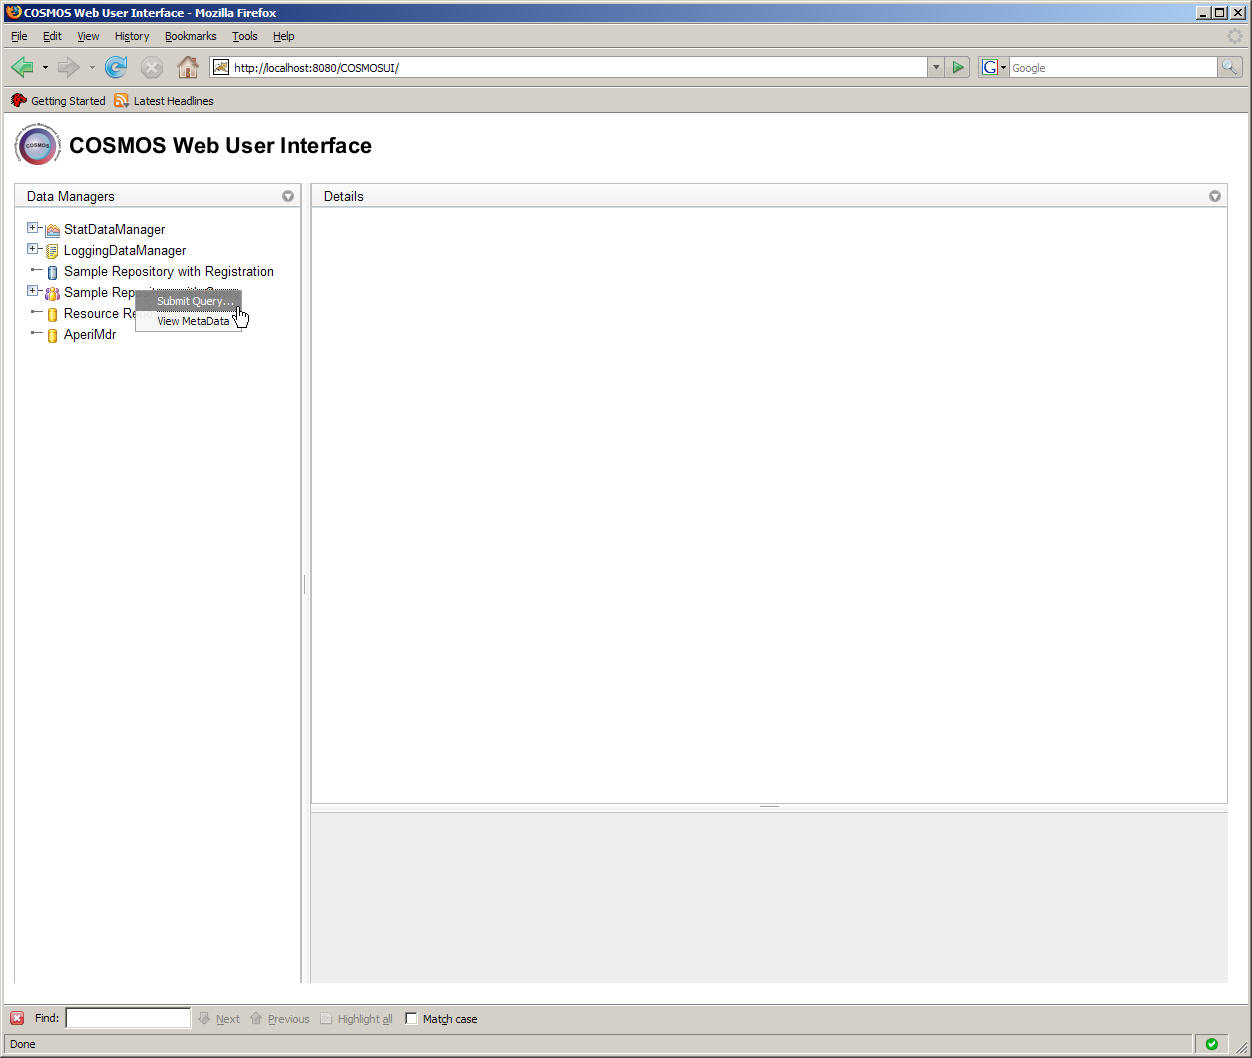
To submit a query on the "Sample Repository with Query" MDR right click the "Sample Repository with Query" MDR from the "Data Manager" view. A pop-up menu should be shown with a "Submit Query..." option as illustrated below.
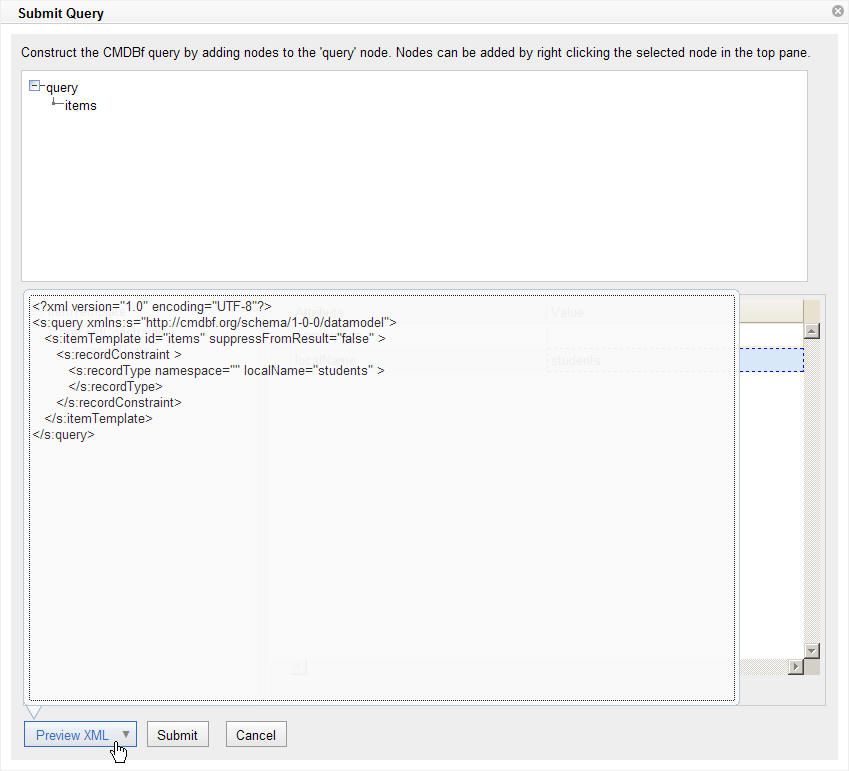
Click on the menu option. This will bring up a query builder dialog box that will allow the user to construct a CMDBf query. Let us build the following CMDBf query using the query builder. This query will get a list of students.
<?xml version="1.0" encoding="UTF-8"?>
<s:query xmlns:s="http://cmdbf.org/schema/1-0-0/datamodel">
	<s:itemTemplate id="items">
		<s:recordConstraint>
			<s:recordType namespace="" localName="student"/>
		</s:recordConstraint>
	</s:itemTemplate>
</s:query>
The query builder is composed of three panes. The top level pane allows the user to create itemTemplate and relationshipTemplate nodes. Right click the "query" node in the top pane and select 'Add Item' as shown below.
This will bring up a second dialog box that allows the user to enter the template id. Enter the word 'items' in the text box as shown below.
Notice that we constructed the following 'itemTemplate' node in the CMDBf query as illustrated in the XML shown in the previous step.
<s:itemTemplate id="items">
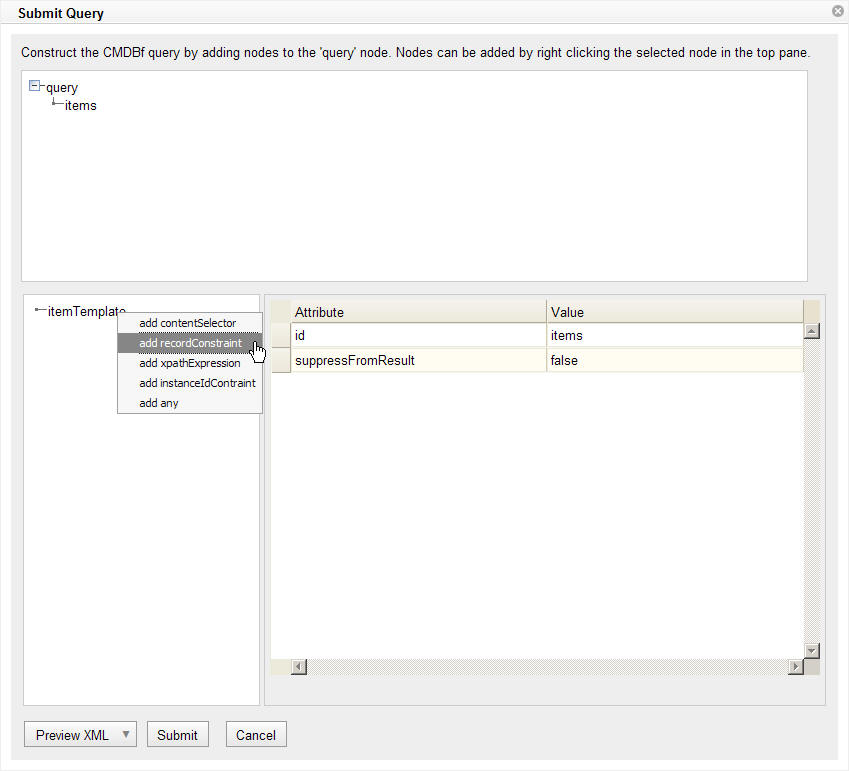
Select the 'itemTemplate' node in the bottom left pane to view the properties on the element. If we look at the XML structure of the CMDBf query we can notice that the query contains a 'recordContraint' element under the itemTemplate. Therefore, we need to add a recordConstraint element under the 'itemTemplate' node by right clicking the 'itemTemplate' node and selecting the 'add recordConstraint' menu option as shown below.
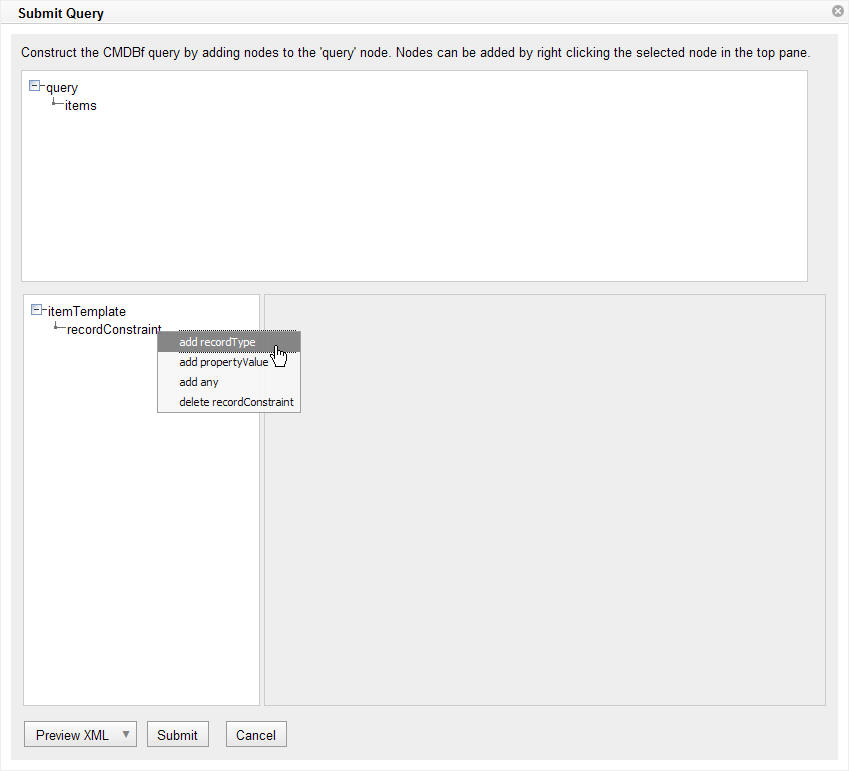
Next we need to add a 'recordType' element under the 'recordConstraint' node. This time we right click the 'recordConstraint' node in the bottom left pane and select the 'add recordType' menu option as shown below.
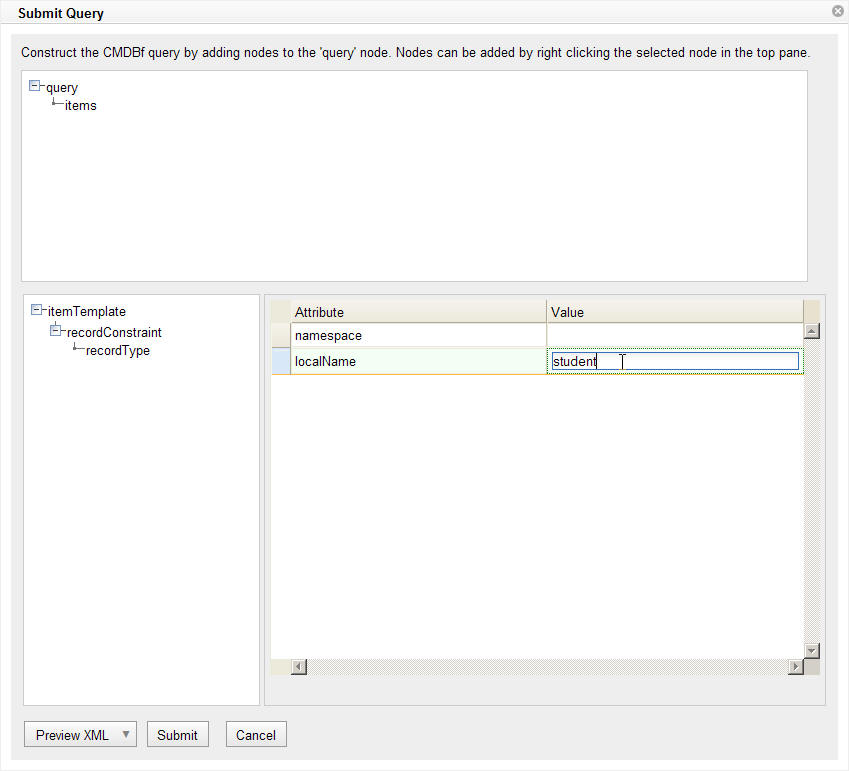
Now we need to set the localName on the recordType element to 'student'. Click on the cell next to the 'localName' cell in the bottom right table. This will allow you to edit the attribute value. Enter the word 'student' in the text box and click enter as shown below.
At this point we constructed the CMDBf query and we are ready to submit the query to the "Sample Repository with Query" MDR. We can click the "Preview XML" button to look at the CMDBf query we constructed. This is illustrated below:
- Click the 'Submit' button.
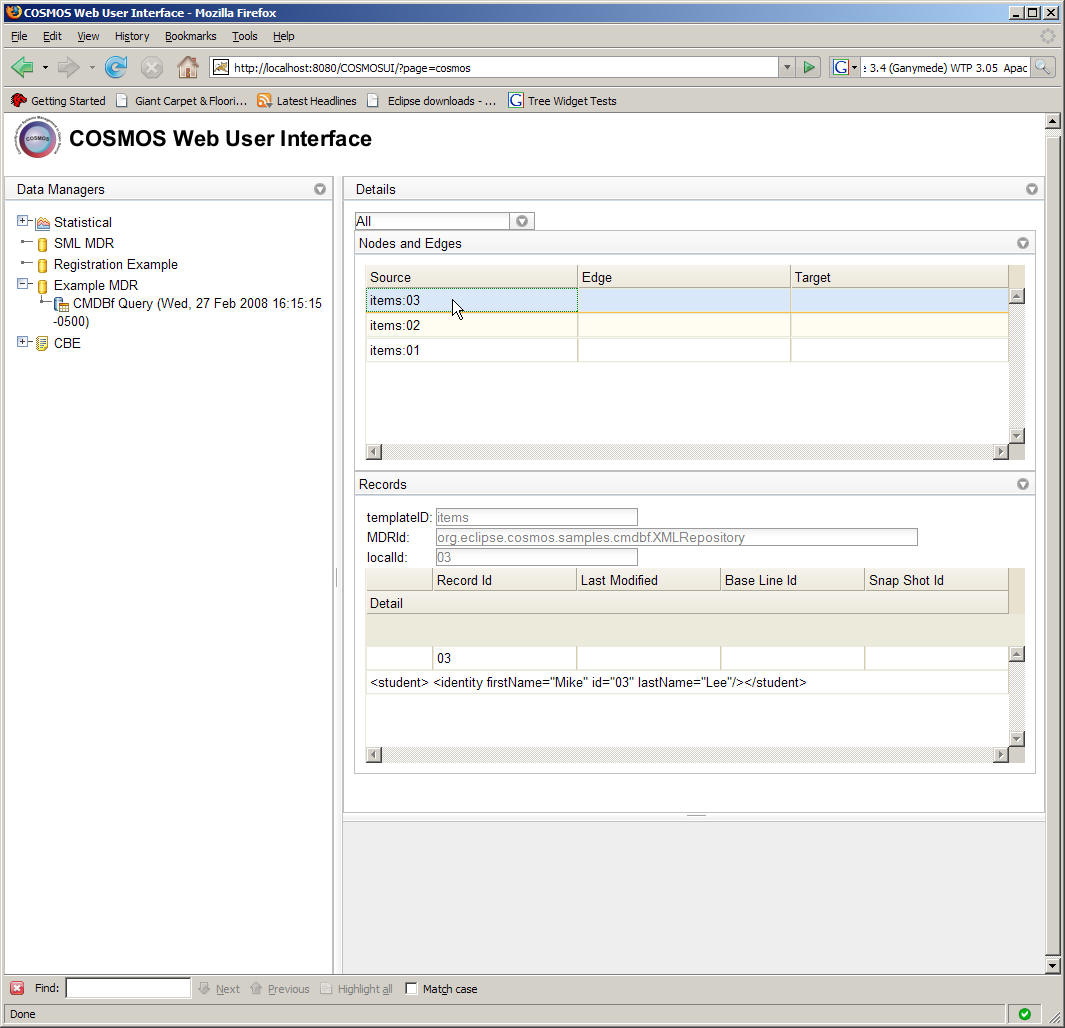
The graph response viewer should be shown in the details pane in the top right pane as shown below. The view will show a list of three students
Click on the "Source" cell in the "Nodes and Edges" section of the view. The Record section of the view should show the information on a particular student. Note that the student information is displayed as a XML structure as follows:
<student>
   <identity firstName="Mike" id="03" lastName="Lee"/>
</student>
We can see that the student we selected is named "Mike Lee" with an id of "03".

