Notice: This Wiki is now read only and edits are no longer possible. Please see: https://gitlab.eclipse.org/eclipsefdn/helpdesk/-/wikis/Wiki-shutdown-plan for the plan.
RDB Smoke Test Scenarios
Steps
1. After installing WTP and the required Eclipse components, start Eclipse.
2. Open the Database Explorer and Data Output views by selecting the Window -> Show View-> Other… menu item.
3. Create a connection to a database in the Database Explorer and expand the database tree until Tables node is expanded.
4. Expand one of the table nodes, expand the Columns folder and verify that the column data type, etc. is displayed.
5. Select a table that contains data and select the Data->Sample Contents menu item from the context menu. Examine the results in the Data Output view.
6. Select the Data-> Edit menu item and note the Data Editor is launched.
7. Edit one of the fields by entering valid data and then select the File->Save menu item from the main menus. Note the messages in the Data Output view.
8. Edit one of the fields by entering invalid data and then select the File->Save menu item from the main menus. Note the messages(should be error) in the Data Output view.
9. Create a General project in the workspace.
10. Select the Open SQL Scrapbook toolbar button in the Database Explorer and select the connection you just used in the resulting dialog. In the next dialog, select the project that was just created and enter a file name.
11. In the editor view, enter a simple SELECT statement and verify the code completion is working. Then right-click and select the Run SQL menu item. Note the results in the Data Output view.
12. In the Database Explorer, select a table with data and select the Data-> Extract… menu item from the context menu. Specify a file to save the data to the file system.
13. For the same table, select Generate DDL… from the context menu. Use the defaults on the first two wizard pages and check the “Open DDL file for editing” option on the third page. Click Next then Finish.
14. In the editor, rename the table and add the schema name for the table. Right-click in the editor and select the Run SQL menu item to create the table on the server.
15. Refresh the Data Explorer and locate the newly created table. Select the Data-> Load… menu item from the context menu and specify the file previously created from the Extract data step above and click Finish.
16. Select the table in the Database Explorer and select the Data->Sample Contents menu item from the context menu. Examine the results in the Data Output view to verify the data was loaded into the table.
17. In the Database Explorer, select the Tables folder and select the New->With SQL Editor menu item. Verify that the SQL Editor opens with a CREATE TABLE statement.
18. In the Database Explorer, select the Tables folder and select the Filter… menu item. Uncheck the Disable Filter checkbox. Select the Selection radio button and check one of the table names in the list. Click Finish. In the Database Explorer, expand the Tables folder and verify that only the table specified in the filter is displayed.
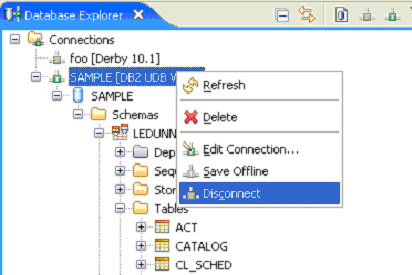
19. In the Database Explorer, right-click on the connection and select the Save Offline menu item. After the save has completed, right-click on the connection and select the Disconnect menu item. Right-click on the connection and select the Work Offline menu item. Expand the connection down to the Tables folder and verify that the tables exist.
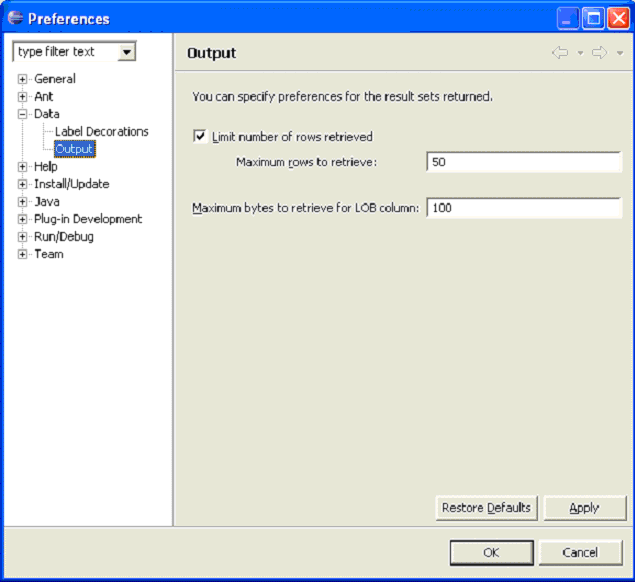
20. Select the Window->Preferences menu item from the main menus and select all the nodes under the Data category in the resulting dialog. Verify that the preference pages are displayed correctly.


