Notice: This Wiki is now read only and edits are no longer possible. Please see: https://gitlab.eclipse.org/eclipsefdn/helpdesk/-/wikis/Wiki-shutdown-plan for the plan.
EGit/User Guide/Remote
| EGit | |
| Website | |
| Download | |
| Community | |
| Mailing List • Forums • IRC • mattermost | |
| Issues | |
| Open • Help Wanted • Bug Day | |
| Contribute | |
| Browse Source • Project Set File |
Contents
Working with remote Repositories
Cloning remote Repositories
Using the Git import wizard you can clone remote repositories using different transport protocols. Additionally you may import existing Eclipse projects into your workspace and share the projects with the Git team provider.
Start the import wizard by navigating to File -> Import... and choose "Git Repository".
Repository Selection
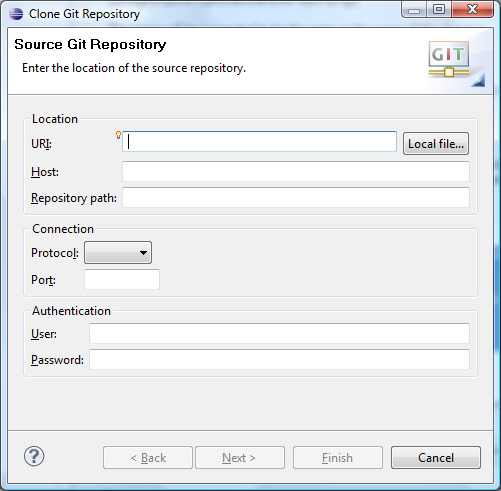
On the first page of the wizard enter the location of the remote repository:
- URI - The complete URI of the remote repository or the path on the file system. This field is automatically synchronized with the other fields.
- Host - The name of the remote host or empty if cloning from the file system.
- Repository Path - Path to the remote repository or on the file system.
- Protocol - One of the protocols described below.
- Port - Port number.
- User - The user name used for authentication.
- Password The password used for authentication.
The following protocols are supported:
- git - The most efficient built-in git protocol (default port 9418). This protocol doesn't provide authentication. Typically used for anonymous read access to the repository.
- git+ssh - Git over secure shell (SSH) protocol. Typically used for authenticated write access to the repository.
- sftp - SSH File Transfer Protocol
- http - Hypertext Transfer Protocol can be tunneled through firewalls.
- https - Hypertext Transfer Protocol Secure can be tunneled through firewalls.
- ftp - File Transfer Protocol
- file - File system access to the repository.
Branch selection
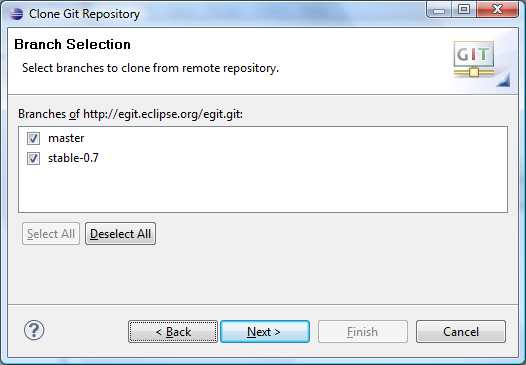
On the next page choose which branch should be cloned from the remote repository:
Local Destination
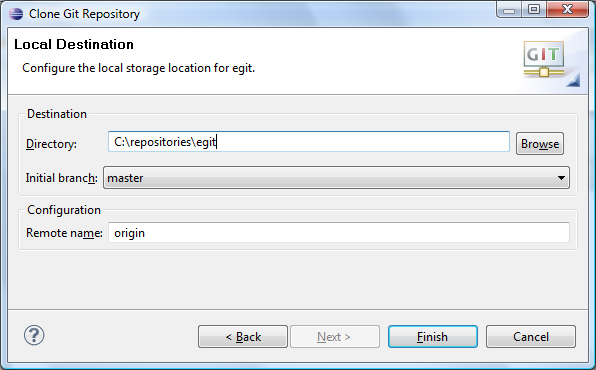
On the next page define where you want to store the repository on your file system and define some initial settings.
- Directory - The directory which will contain the Git repository. It will be created by the wizard if it does not yet exist.
- Initial branch - Choose here which local branch will be created and checked out.
- Remote name - Define a name for the remote repository. The default is "origin".
- Import projects after clone - If checked, the repository is searched for eclipse projects. In this case the finish button is disabled and the wizard continues with the project selection. If not checked, the finish button is enabled.
Note that if you press "Next" on this page the repository will immediately be cloned by the wizard. This is necessary to find the eclipse projects. If you end the wizard with the "Cancel" button later on you will be asked if the clone should be deleted.
Import Projects
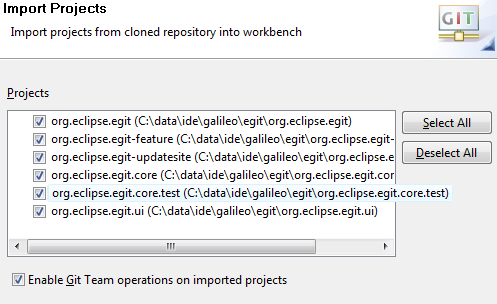
On the next page the Eclipse projects found in the cloned repository are presented.
- Enable Git Team operations on imported projects - If this checkbox is selected the imported project are shared with the EGit Team provider. If it is not checked, the Team operations can still be enabled later on by choosing the project in eclipse and selecting Team -> Share Project...
Pushing a Local Repository to GitHub
Create Local Repository
- follow EGit/User Guide/Getting Started to create a new local repository (with your content instead of the demo project)
Create Repository at GitHub
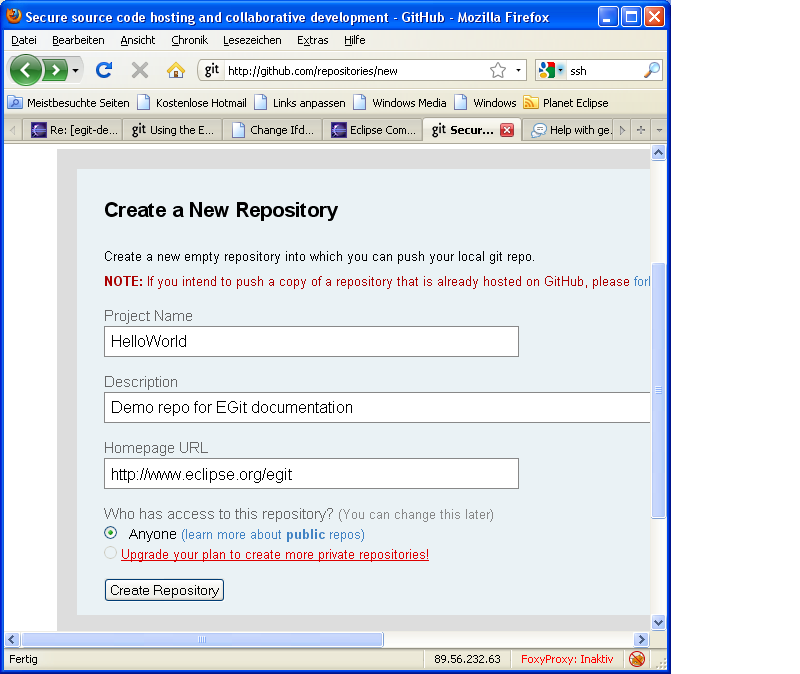
- create a new repository at GitHub
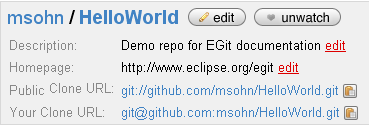
- you get a fresh clone URL for this new repository
Eclipse SSH Configuration
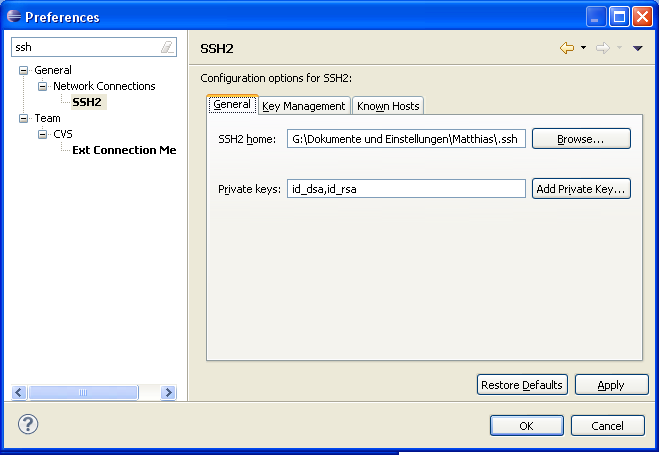
- open "Window" > "Preferences" and ensure that your SSH2 home is configured correctly (usually this is ~/.ssh) and contains your SSH2 keys (upload your public key to your GitHub account settings)
- if you don't have SSH keys yet you may generate them on the second tab "Key Management" of this dialog, use a good pass phrase to protect your private key, for more details see "working with key passphrases"
Push Upstream
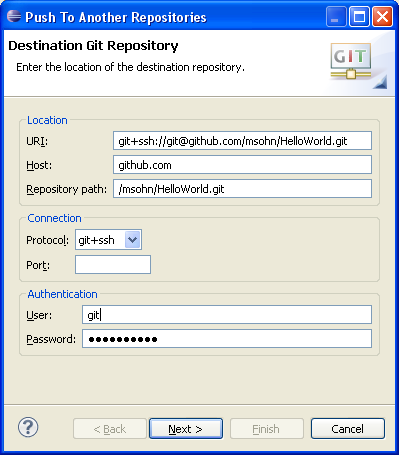
- Select your new Eclipse project and click "Team" > "Push To" and enter "Your GitHub Clone URL" and your GitHub password(with the free github accoutns do not enter a password but leave blank), leave the user as "git"
- click "Next" and on first connection accept GitHub's host key
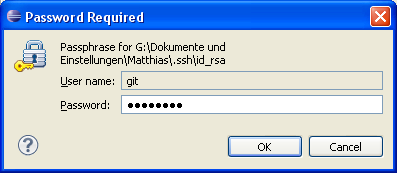
- enter your SSH key's passphrase
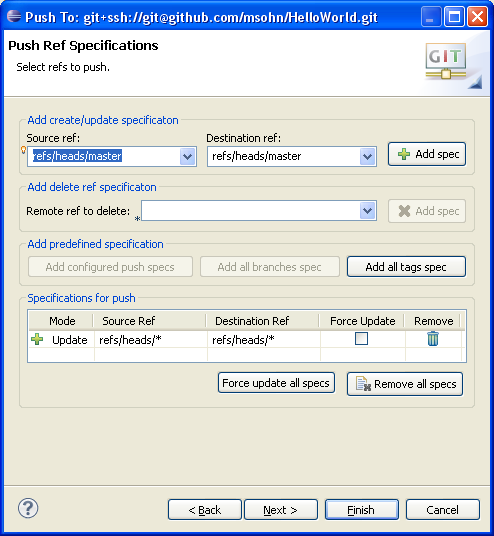
- enter as source ref: refs/heads/master and as target ref: refs/heads/master and click button "Add all branches spec"
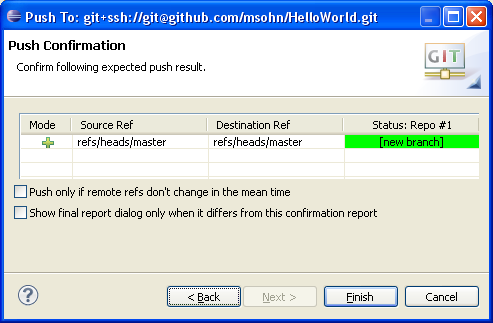
- click "Next" and click "Finish" to confirm the push
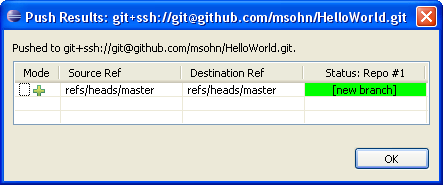
- the next dialog shows the result of the push operation
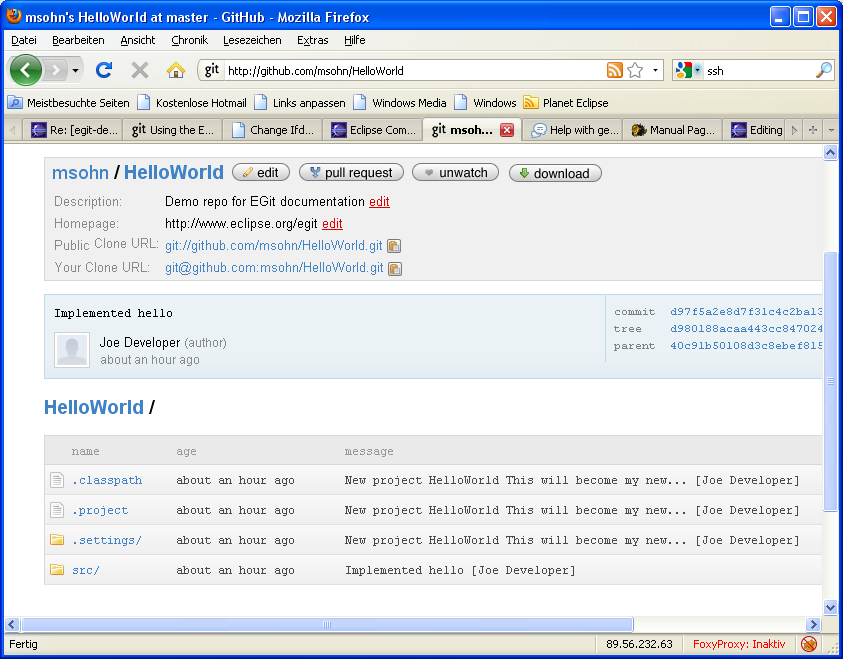
- point your browser at your GitHub repository to see that your new repository content has arrived
Pulling (merge or rebase) new changes from upstream
This is not yet available. Available alternatives currently include:
- run "git pull" from outside eclipse (but beware on Windows)
- if you did no local change or want to discard your local changes, use "Team/Reset To..."

